We’ve all experienced that severe pain that hits us right on our lumbar spine, causing those unbearable muscle spasms on our spinal muscles. It’s the kind of pain that’s just begging for any kind of instant relief you can give it. So perhaps you think to yourself, “Well, I see those chiropractors popping backs all the time, it can’t be that hard, can it?”. You get yourself into a seated position and attempt to twist and get that satisfying popping sound from your back in any way you can to start feeling that instant relief in your back.
But that’s all it is: Instant Relief.
That “instant relief” can come at a great price to your spine and other bones involved in the “popping” process, causing more chronic pain than you were ever dealing with beforehand. The longer the period of time you’ve been attempting to give yourself your own chiropractic care, the more you’ve been creating unnecessary pressure on joints and increasing your risk of injury. We’re not saying this will cause the development of arthritis, but this all does cause damage you may not be able to see yet, but we guarantee you’ll feel in the future. All of this potential pain, just for some temporary relief! The amount of care and expertise that needs to be put into the spinal manipulation of a chiropractic adjustment is extraordinary. There’s a reason why we need to go through so much training before going into chiropractic care.
Instead of hurting your body more in the long run, we recommend doing the stretch highlighted below to alleviate your lower back pain until you’re able to get in to be adjusted by a chiropractor.
How to Do Sun Salutation A:
Step 1: Prayer Pose
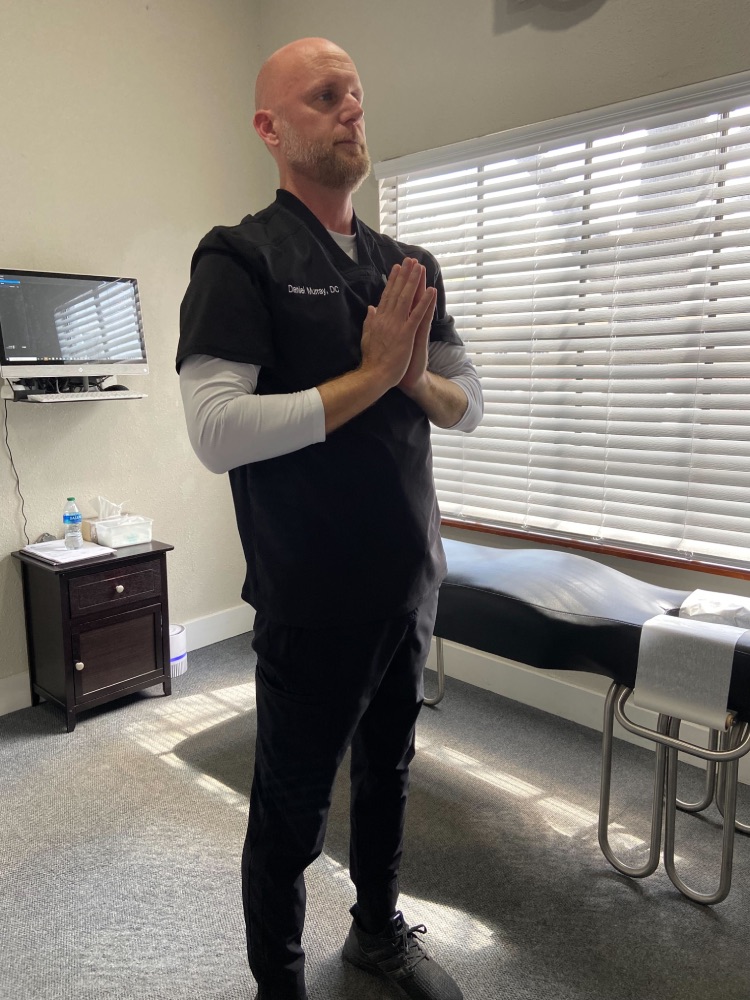
You will start off in the prayer pose, where you stand with your spine straight, feet flat, and your hands lightly pressed against each other, as demonstrated by one of our Visionaries, Dr. Murray.
Step 2: Raised Arms Pose
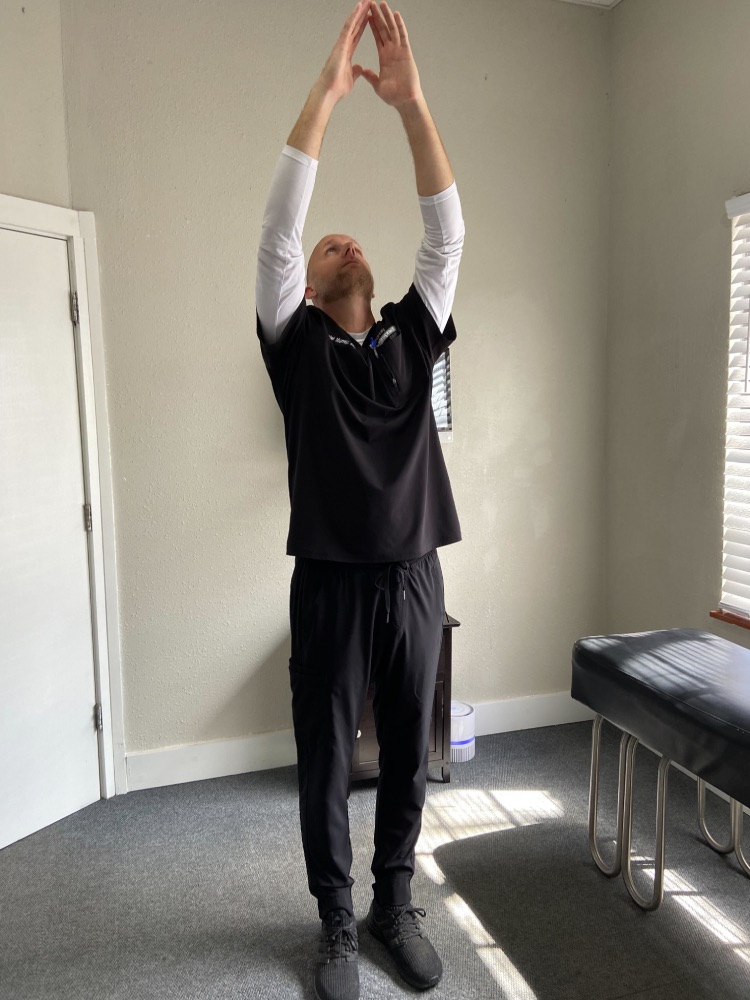
From the prayer pose, you’re going to slowly raise your arms while holding the prayer hands as seen above. Be careful when tilting your head back to make sure you don’t cause any strain or neck pain.
Step 3: Hands to Feet Pose
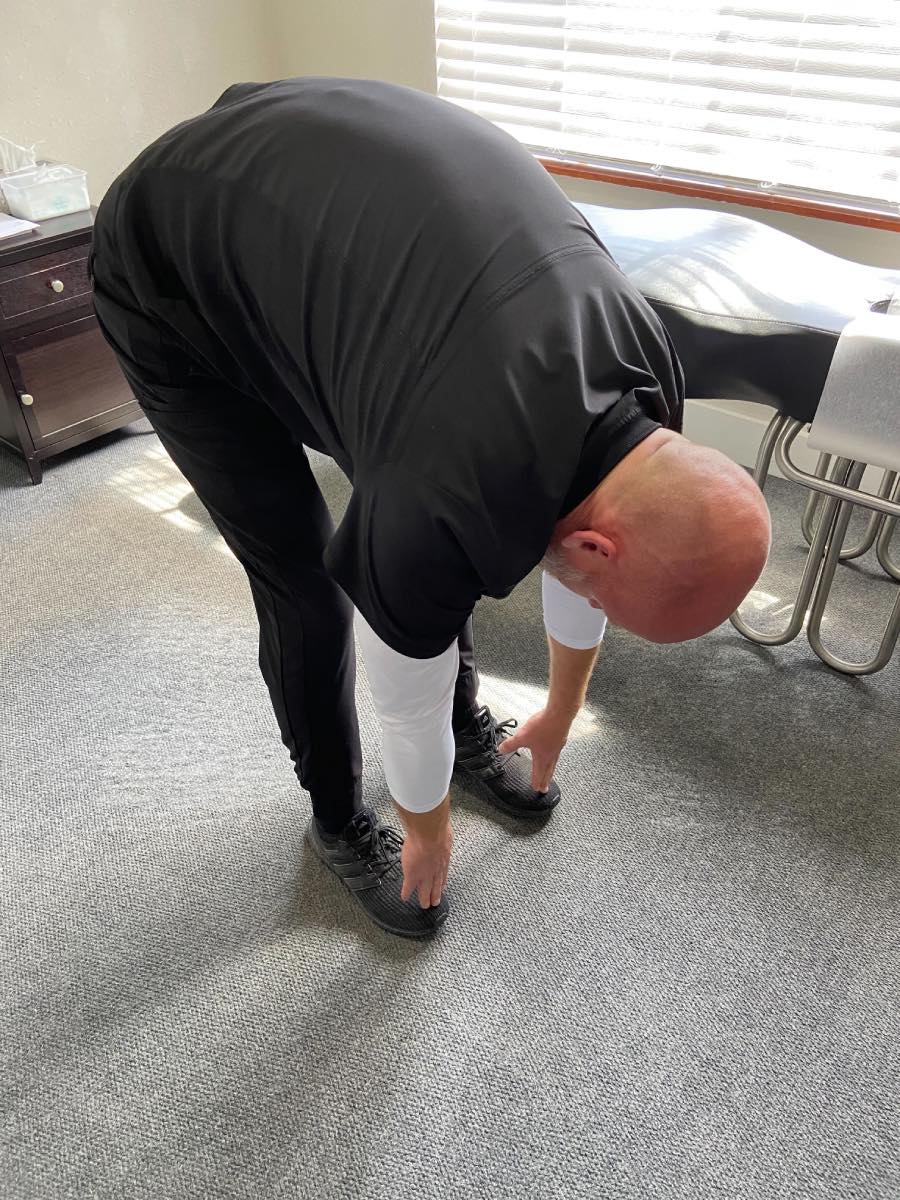
Now, you’re going to gently bring your arms down and reach toward your feet. It’s important not to allow yourself to have poor posture when bending down, as allowing yourself to get into a more hunched position will only further any back pain you are feeling. Keep your back as flat as possible in a healthy posture while maintaining a comfortable position.
Step 4: Low Lunge Pose
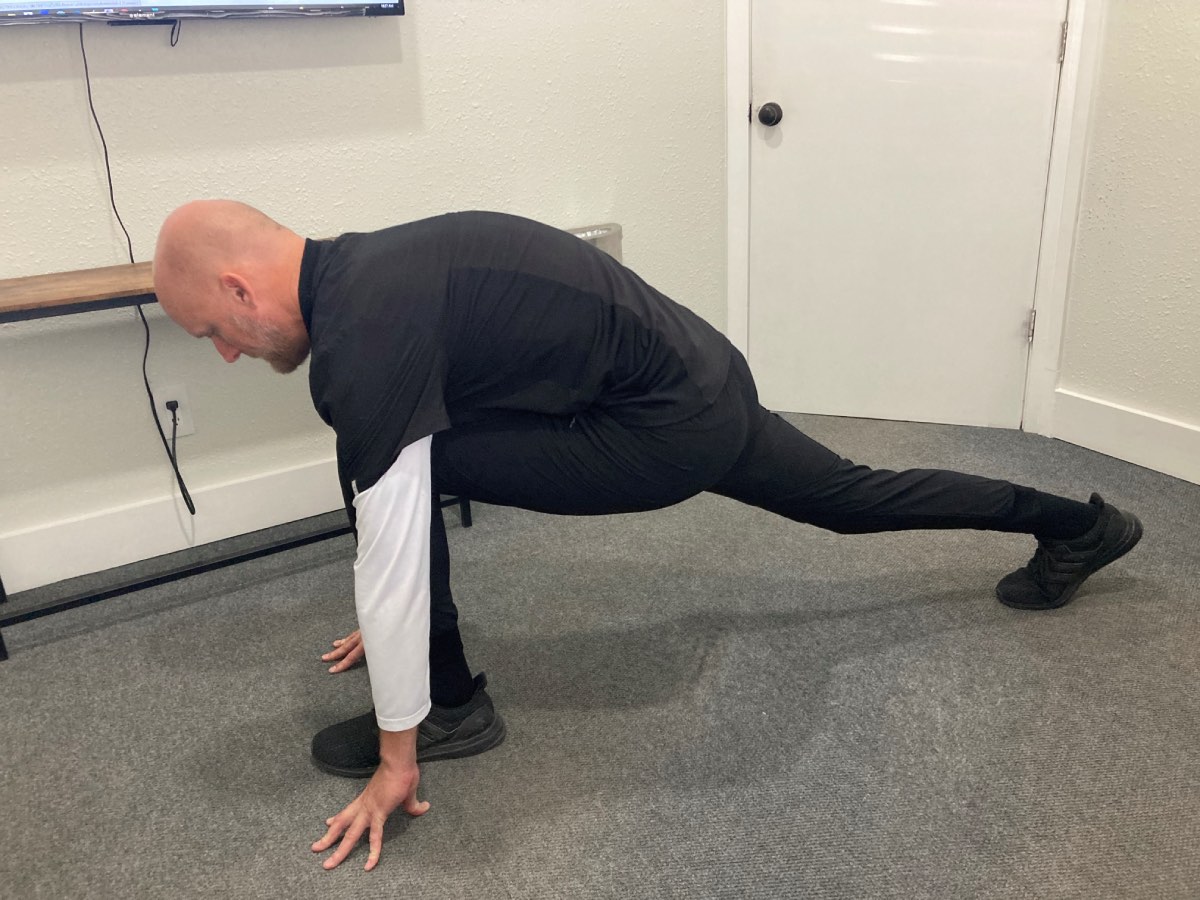
This is somewhat of a transition pose, in which you are moving between the position from the last step into a sort of plank position. So, you will lay both hands flat on the floor and start bringing your right leg back straight behind while leaving your left foot as close to your hands as you can without causing any leg or hip pain.
Step 5: Stick, or Plank, Pose
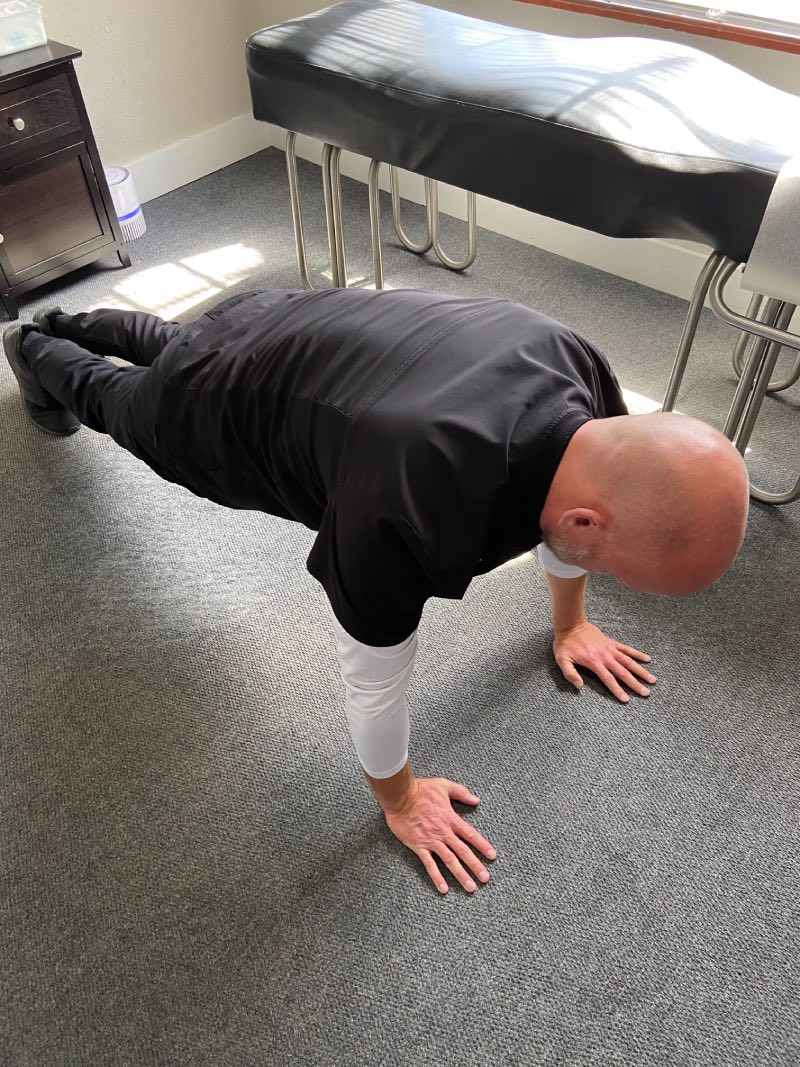
Now in this step, you’re just holding a plank for a short period while you feel the stretch along your back. You may feel some light stretching through your core muscles.
Step 6: Salute With Eight Points
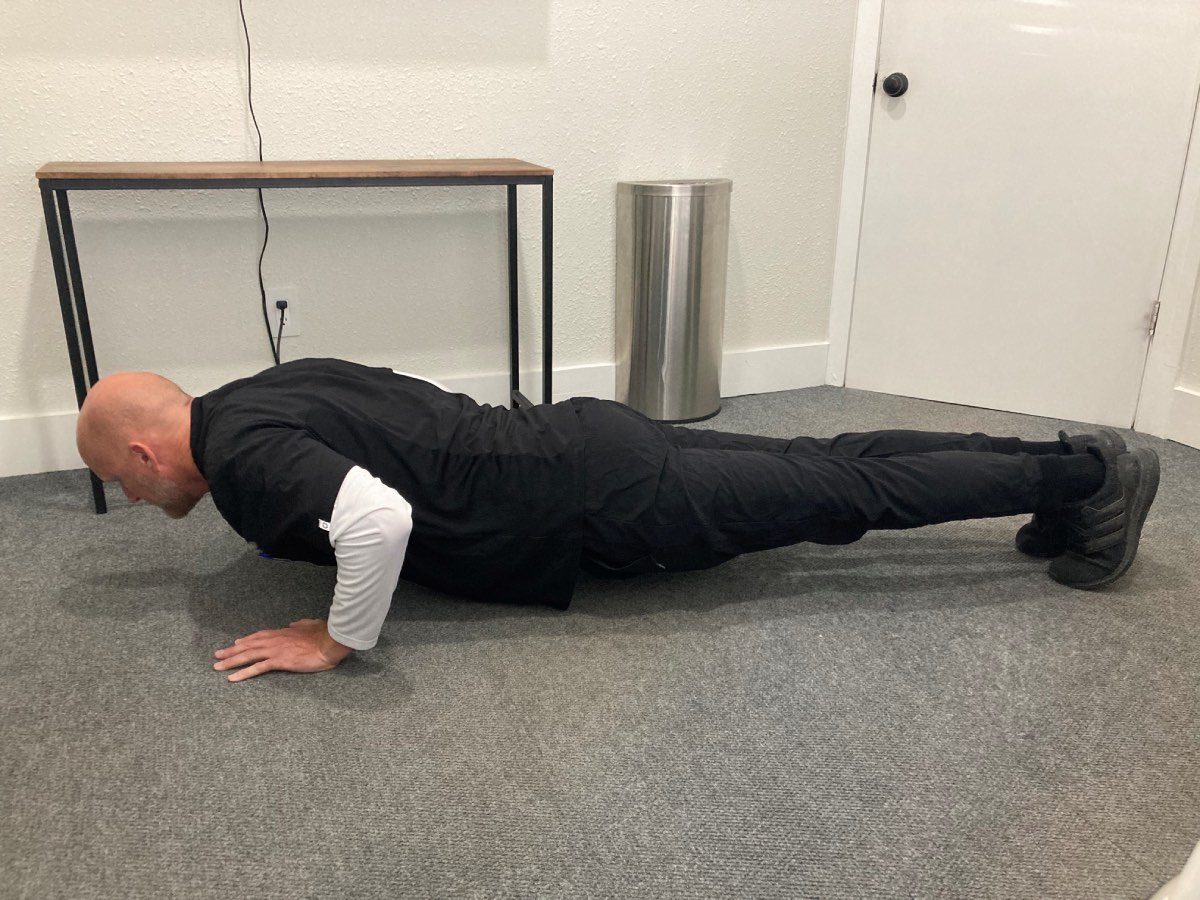
This is another transition pose, where you will be slowly bringing your knees towards the floor and assume a pushup-like position. Like the picture above, your hands and your knees should be in line with each other while prepping for the next position.
Step 7: Cobra Pose
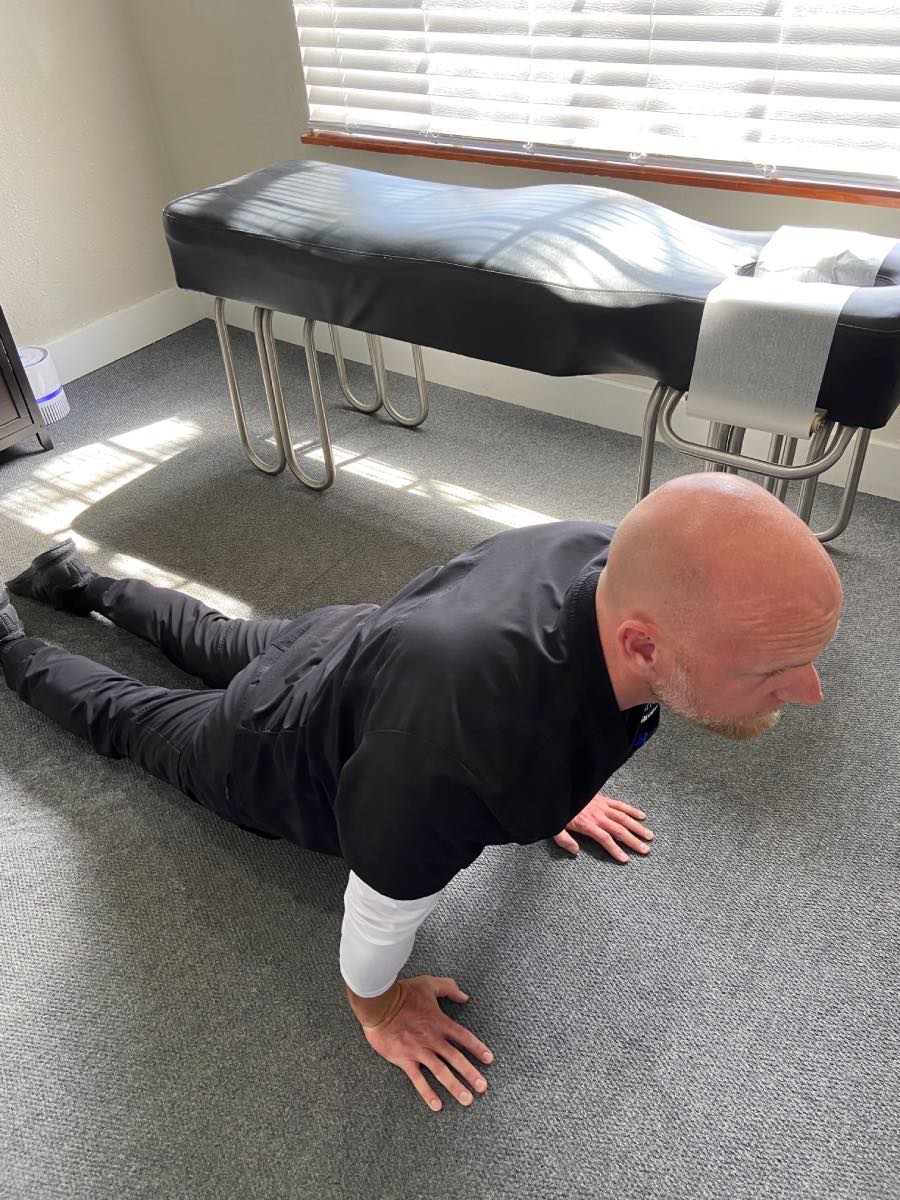
From that push-up position, you will slowly drop your lower body to the ground while raising your top half up, like pictured above. Holding this will target and stretch those lower back muscles, providing some great relief from muscle tension there.
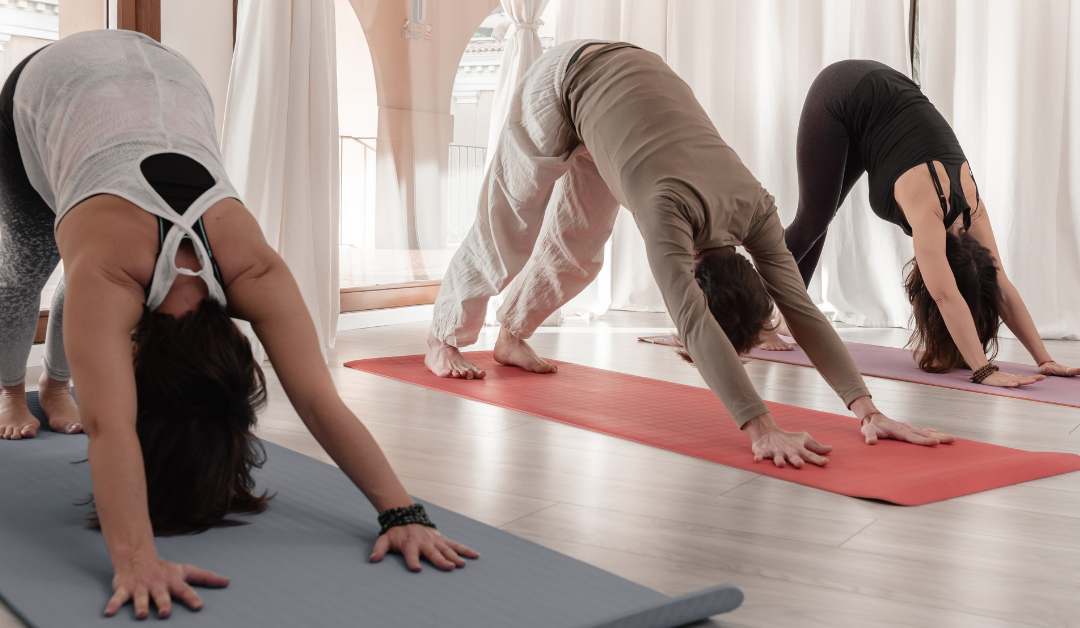
Step 8: Mountain Pose
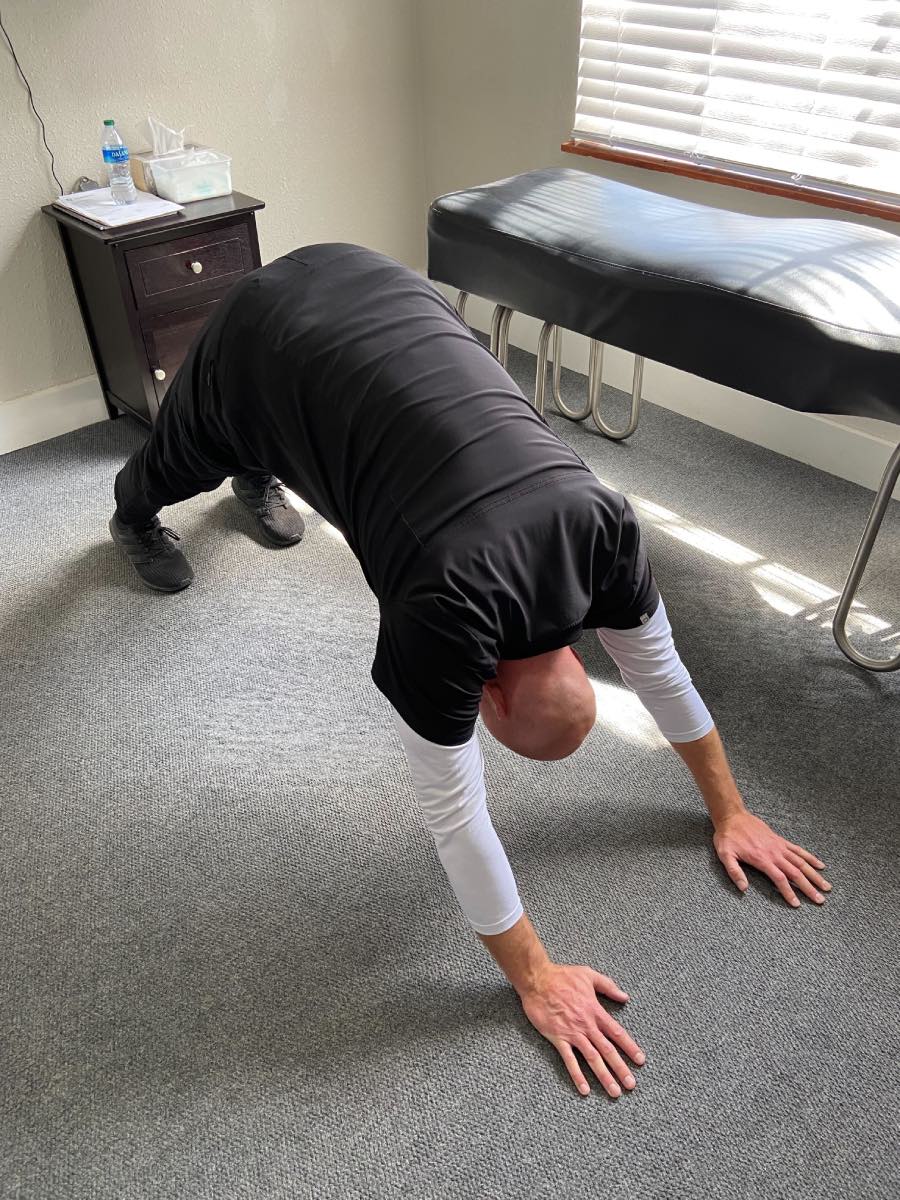
Now, you’ll slowly come out of the cobra pose and plant your hands and feet as flat as you can on the floor. Once you’re stable, slowly push your hips up into the air, like Dr. Murray is doing above, until you’re in an upside-down V shape and hold that to really feel some nice stretching throughout your entire body.
Step 9: Low Lunge Pose

Now we’re going to come back down slowly to the ground by lowering our knees and slowly bringing them in towards our torso while keeping our back as flat as possible to prevent poor posture. You should be back into the pose from Step 4 so we can transition into the next step.
Step 10: Hands to Feet Pose
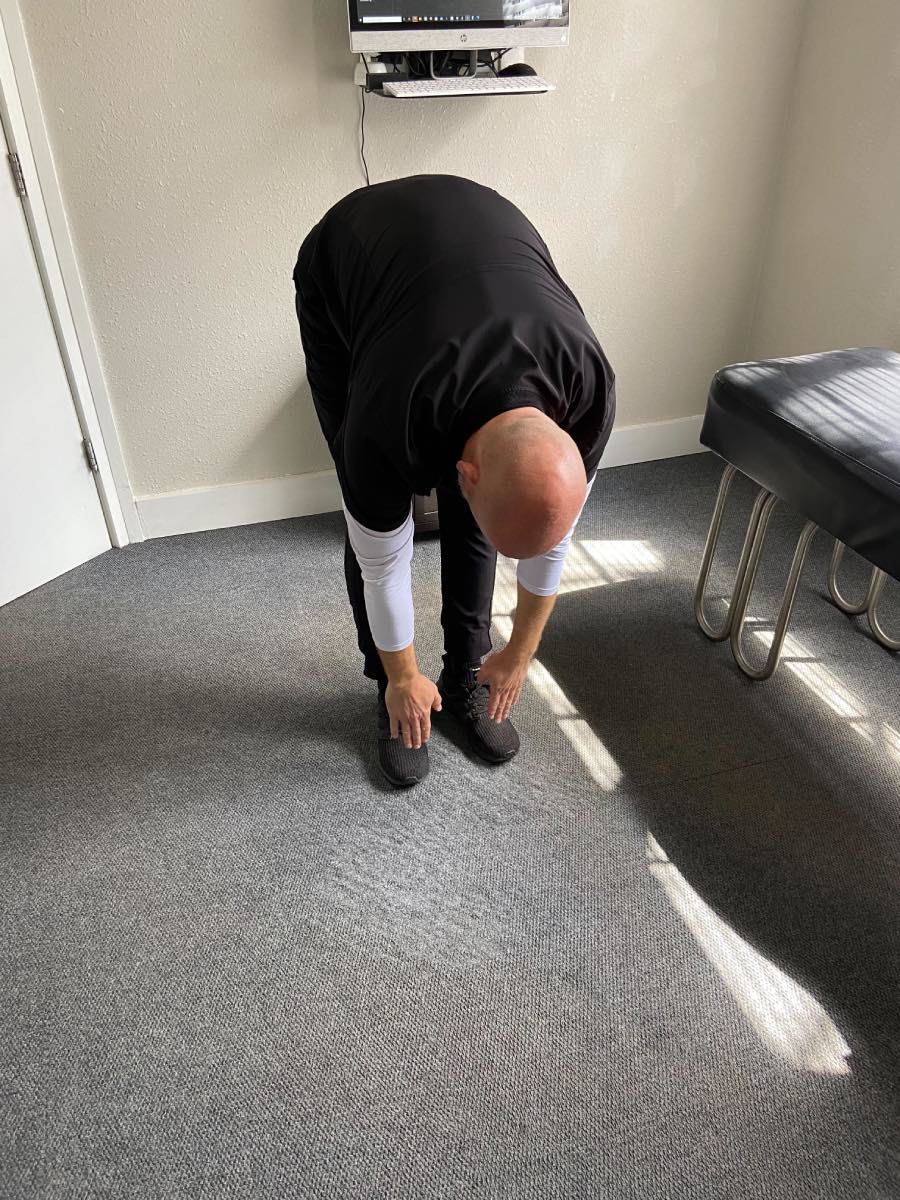
You’re going to push yourself slowly up out of that push-up position from the last step until you find yourself back in the hands-to-feet position pictured above again.
Step 11: Raised Arms Pose
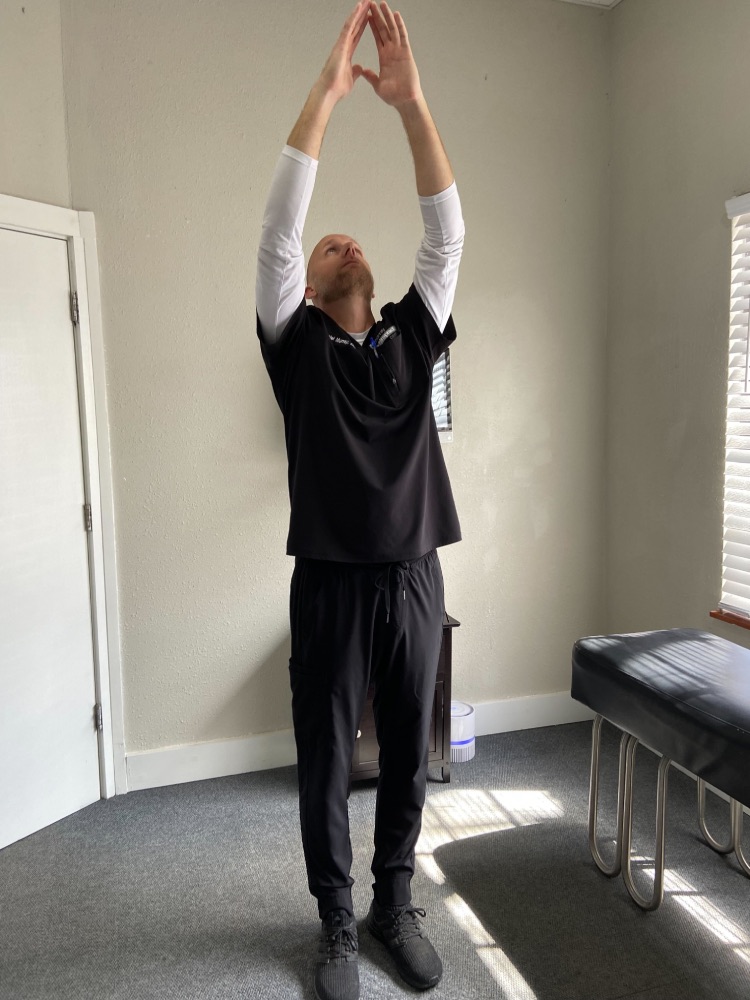
Slowly straightening your back as you rise up out of the last position, you are going to slowly bring your arms with your hands in the prayer position up until your arms are above your head again. Make sure to feel the stretch through your entire back as you raise your arms up.
Step 12: Standing Mountain Pose
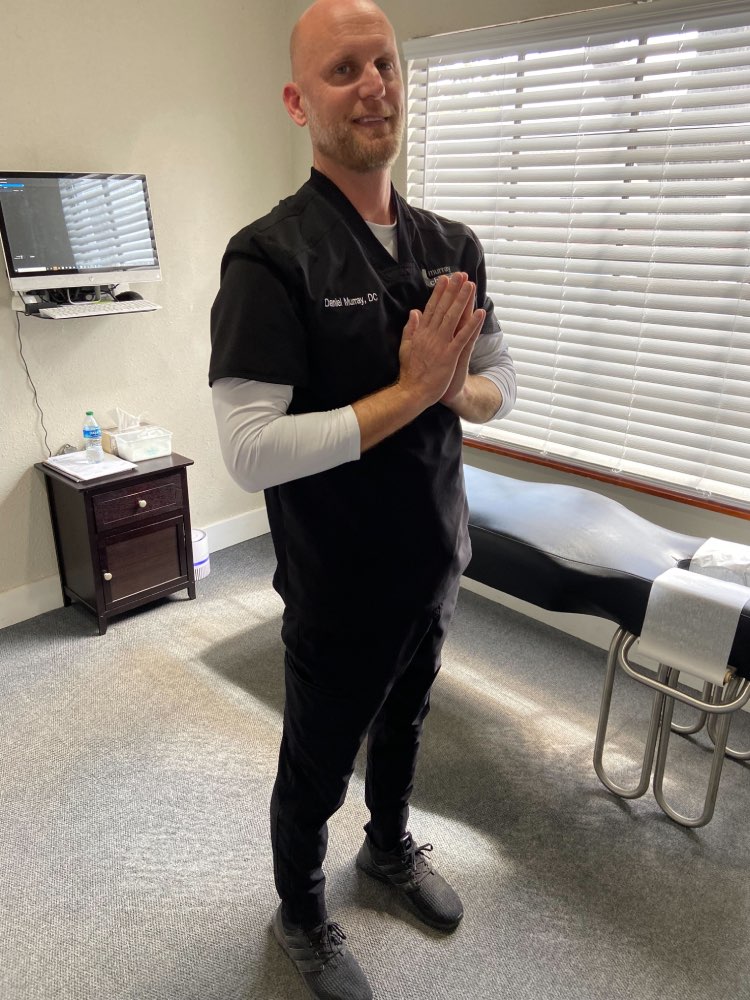
For the final pose, you’re going to separate your hands from the prayer pose in the last step and, while bringing them down, you’re going to bring them out in a circle away from your body. After taking your time circling your arms out, you’re going to bring your palms back to heart center to end this repetition.
Reasons to Still Seek a Chiropractor For Treatment
We hope that by repeating this stretch 7 times daily, you are able to alleviate any adverse effects you have been dealing with. However, while we’re happy to provide stretches that can help for maintaining an ache-free back, we still recommend going in to see an actual chiropractor and getting a chiropractic adjustment in order to cure the vertebral subluxation that is the likely culprit of your lower back pain. We hope it’s been made clear that, no matter how “satisfying” it is to get that audible crack and popping sound from attempting to crack your own back, that temporary sense of relief is not worth the long-term or acute injury that can happen as a result.
In the words of one of our Visionaries and founders, Dr. Liam Schubel, when we, as chiropractors finally help people cure their vertebral subluxation, “it is in that moment that humanity will truly reach its full potential”. So, we say go out and get a chiropractic adjustment from the spine specialists themselves today! We promise you will find that when you have your body in alignment, you will be free from all types of pain and your daily life will truly be a happier and healthier life.
Want the Correct Treatment for a Struggling Clinic?
As a group of chiropractors ourselves, we know that starting your own chiropractic clinic can be a struggle, especially dealing with the acute pain that comes from not having enough time freedom, or financial abundance. However, with Schubel Vision Elite, we’ve found the cure for stalling practices. Three words: systems…based…practice. Having a systems-based practice alleviates the stresses that come with owning and operating your own chiropractic clinic.
Want to learn how you can achieve this for your own practice? Join our Schubel Vision Elite Master Class this Thursday at 12 PM EST! Our very own Dr. Schubel will host this class, featuring our other Visionaries from time to time, in order to teach chiropractors and chiropractic students alike about the power of creating a systems-based approach to chiropractic. Even a Doctor of Chiropractic who is established with their own clinic can stand to learn something from the Schubel Vision Elite Master Class!
Sign up today through the link below by just putting in your name and email address, and you’ll be sent an email confirming your attendance!


Recent Comments